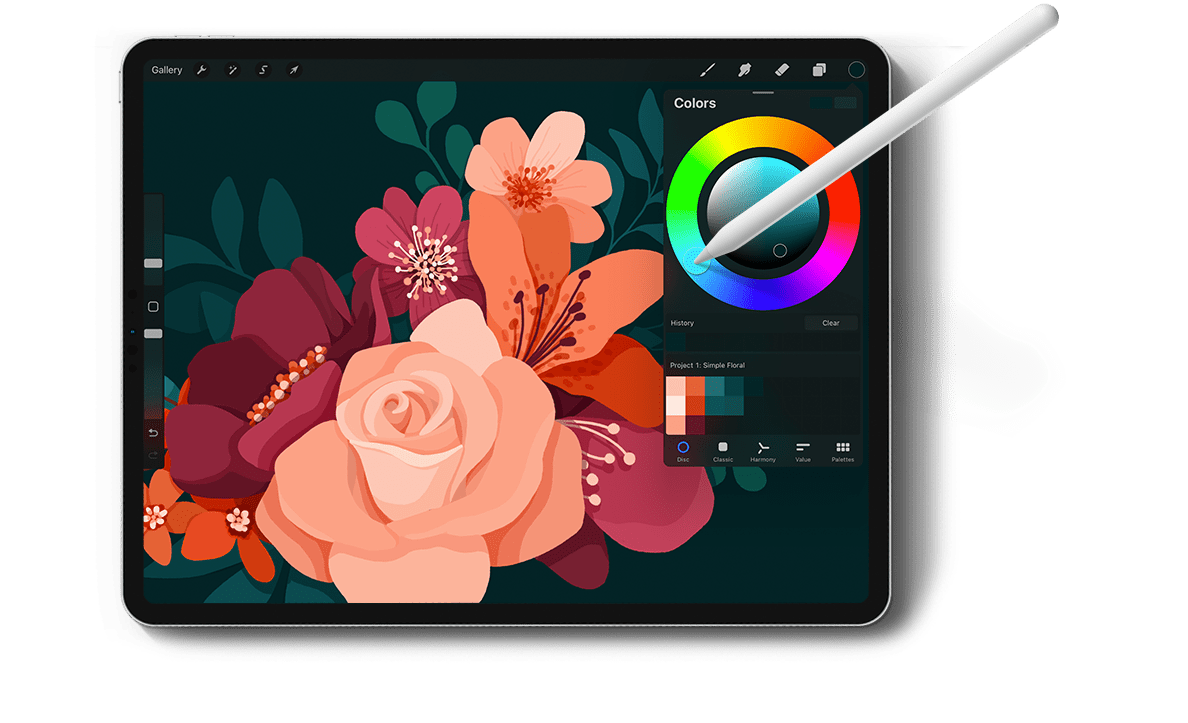
Simplifying with Ease
Create stunning, simplified florals in a variety of flat styles.
What are Flat Florals?
The flat style is created with solid colored organic and geometric shapes, absent of gradients and texture. But don’t let that fool you! This style can be expansive with variation opportunities by adding simplified, solid details, flat style depth and more.


What you’ll learn in this course
Composition Design
Organize + create compelling floral arrangements with strategy
Simplification Process
Reduce complex forms to their simplest shapes and textures
Choosing Color
3 methods for establishing and expanding unique floral palettes
Basic Flat Floral Styles
6 style practice exercises for simpler florals
Flat Foliage Styles
Several detailing ideas based on different leaf types
Complex Flat Floral Styles
6 style practice exercises for complex, denser florals
Freehand Compositions
Learn how to adjust provided compositions or create your own from scratch
Flat Depth
Apply solid colored shadows and highlights strategically to create dimension
Horizontal + Vertical Arrangements
Canvas specs and process for different composition formats
Mini Bouquets
How to create consistency within a family of mini bouquets
Seamless Patterns
Add mini bouquets to a seamless pattern with transparent background
Bonus: Application Tutorials
Apply your artwork to 3 different common applications for future use
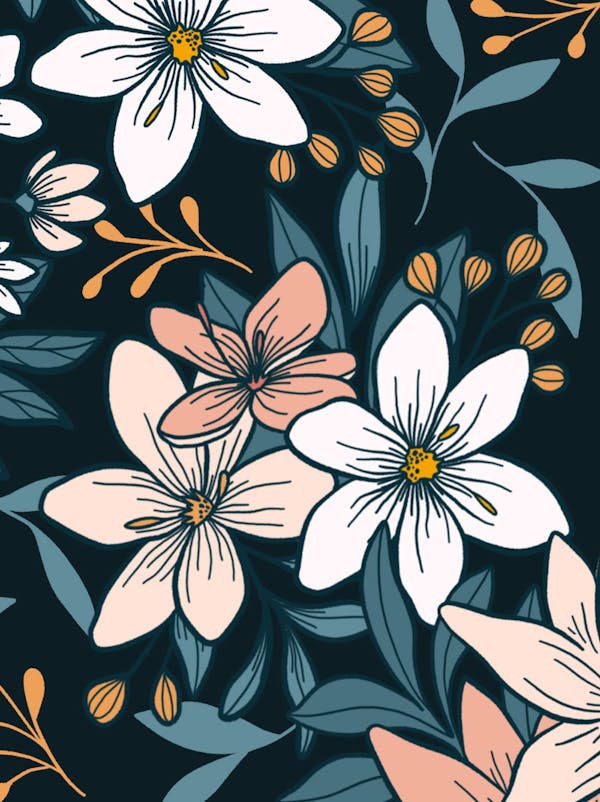


153 Brushes are included with your enrollment
This complete set includes painting and stamp brushes, categorized into 5 separate brush sets, so it’s easy to find what you need and easy to use.
Extended License included, so you can sell unlimited artwork created with the brushes.


The advantages of painting flat florals digitally

Instantly Reusable
Reuse and share what you painted on various applications instantly.

Unlimited Paper + Paint
All the art supplies you need are packed right into Procreate.

Paint from Anywhere
As long as you have your iPad and stylus, you’re good to go.

Impossible Color
Achieve vibrancies beyond the capabilities of traditional pigment.

No Mess
Practice over and over without any wasted art supplies or mess. Simply create a new layer and you’re ready to start again.

Undo, Redo, Resize, Do Over
A few quick taps to fix mistakes or make adjustments and you’re back to creating.
After a series of practice exercises, we put our new skills to work in Project 1! In this project, we paint a basic floral with simple foliage and apply 3 different variations of the flat style to it: basic flat color, outlined with detail and multicolored details with simple flat depth.


project 1
Style 1


project 1
Style 2


project 1
Style 3
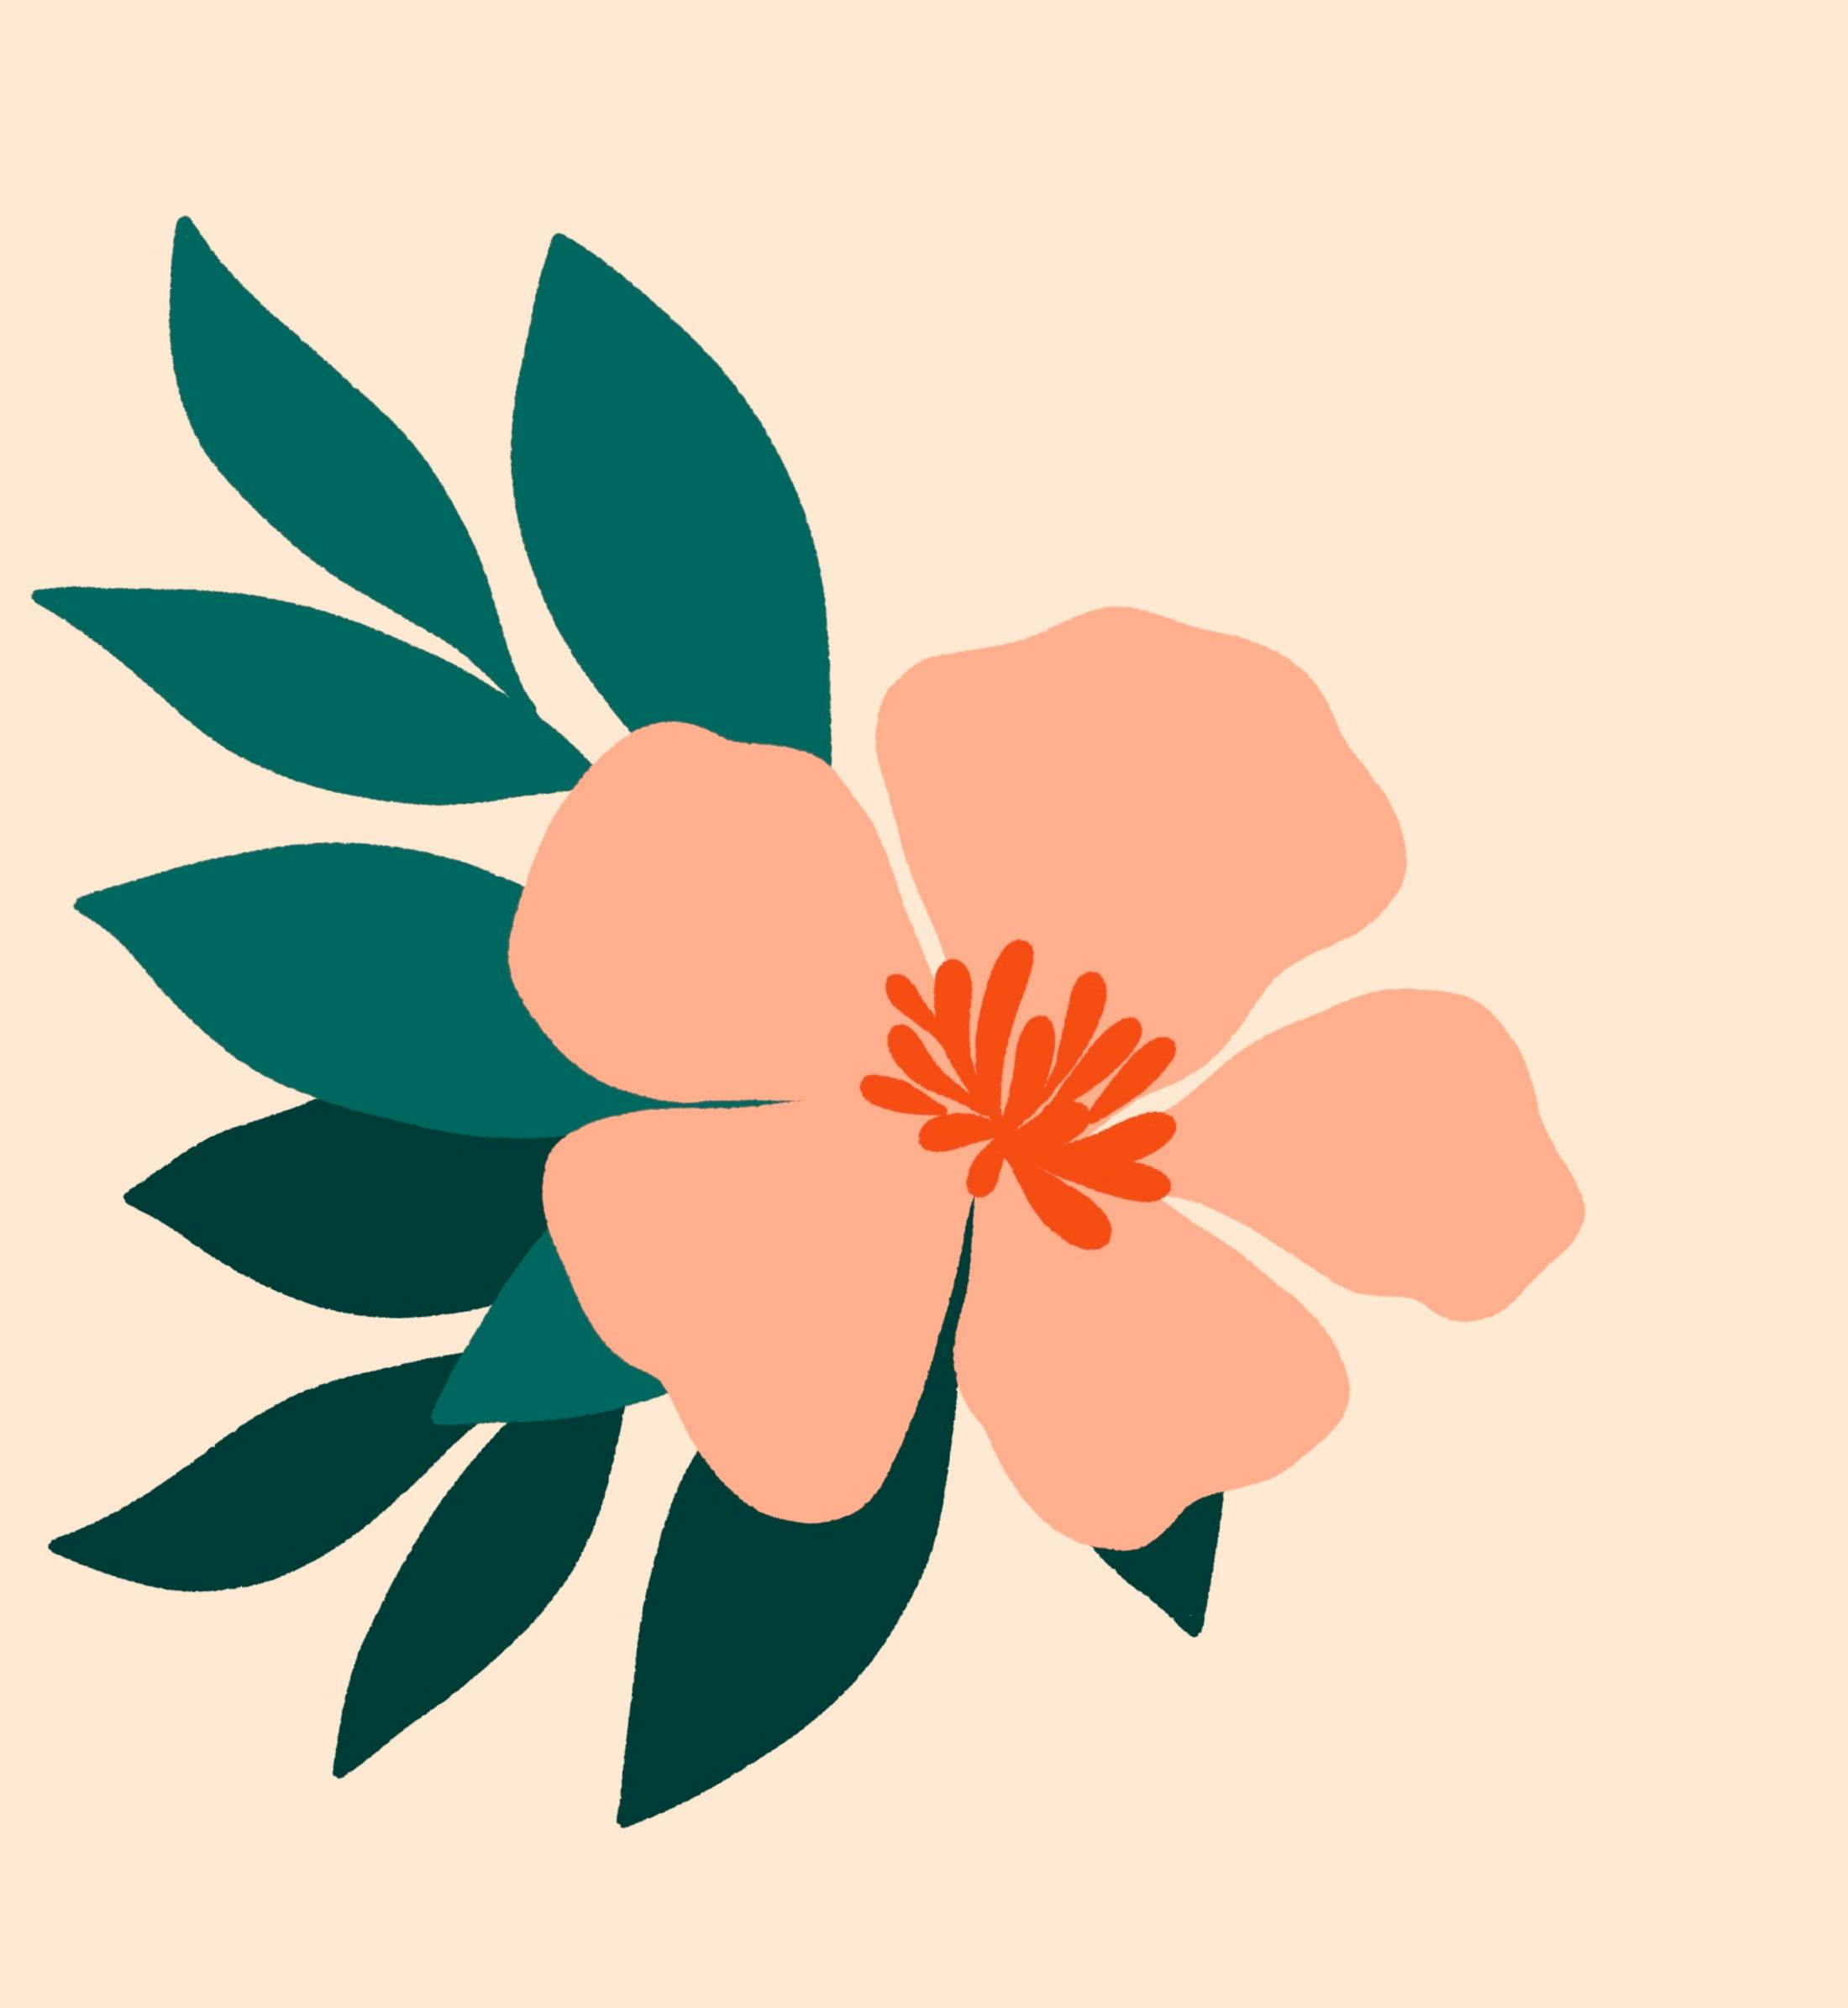
Now it’s time to begin basic floral arrangements! We use a composition stamp for the first time in Project two and we utilize layer masking when defining our arrangement’s 3 core elements. We create this project with 2 variations: basic flat and multicolored details.


project 2
Style 1


project 2
Style 2

After a series of complex floral practice exercises, we freehand a simple composition with a complex (overlapping petaled) flower. We create this project in two variations: basic flat, and flat depth, where we strategically draw and define shadows for extra, flat style dimension.


project 3
Style 1


project 3
Style 2

We dive into the complex section of course projects beginning with Project 4! In this project, we make a multi element vertical arrangement, complete with multiple hero florals, supporting florals and foliage elements. We bring it to life with flat shadow details and strategic color selection and placement.


project 4
Complex Vertical Arrangement

In Project 5, we create a horizontal arrangement in a fall theme. We push the illusion of dimension with this project by using different colored petals based on hierarchy along with strong flat style shadow elements. We support our complex florals with berries, sprigs and large leafy branches for a balanced, multidimensional piece.


project 5
Flat Depth Arrangement

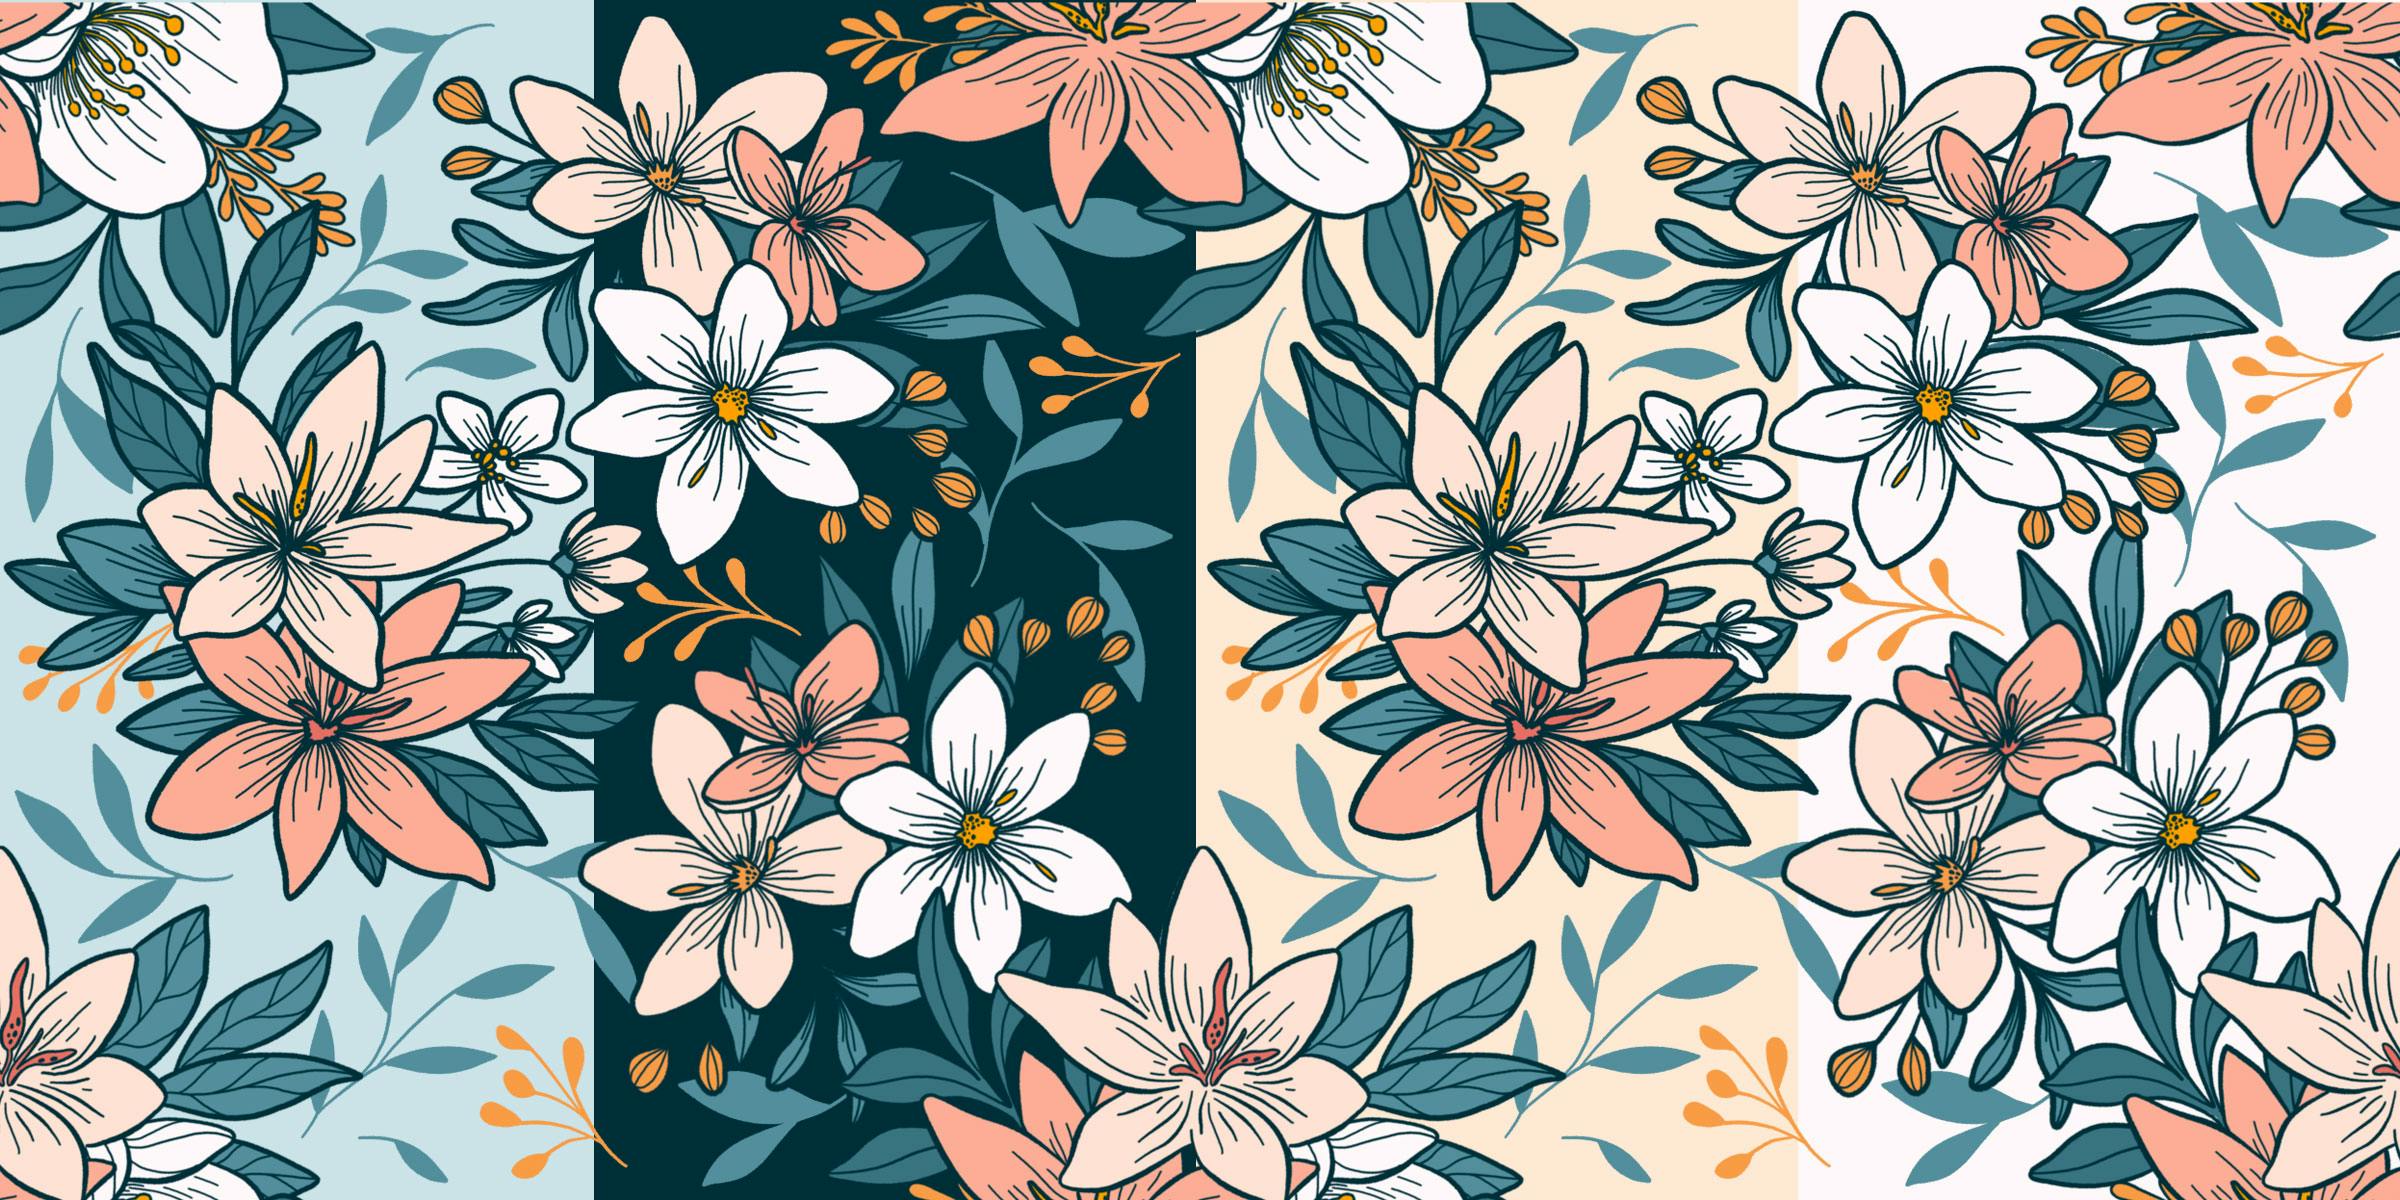
In our grand finale project, we pack everything in! We begin by creating a family of 3 mini bouquets, then strategically position and divide them into a seamless, repeat pattern.
We take additional steps in the pattern creation to develop one with a transparent background, allowing the user to choose any background color they’d like for extra versatility.


Create seamless, repeat patterns in Procreate with transparent backgrounds, providing the user extra versatility.
Enrollment includes 3 bonus lessons on how to reuse your florals within popular application types
Learn how to integrate a holding shape for text with added embellishments, perfect for greetings that tie right in with your graphics.


Bonus Project 1
Text Ribbon


Bonus Project 2
Floral Additions
You’ll learn how to add your florals seamlessly within other graphics, color adjust and scale it properly for extra-unique pieces.
Ideal for social media posts and stationery, steal my best tips for scaling and cropping your artwork to create beautiful borders.


Bonus Project 3
Floral Borders
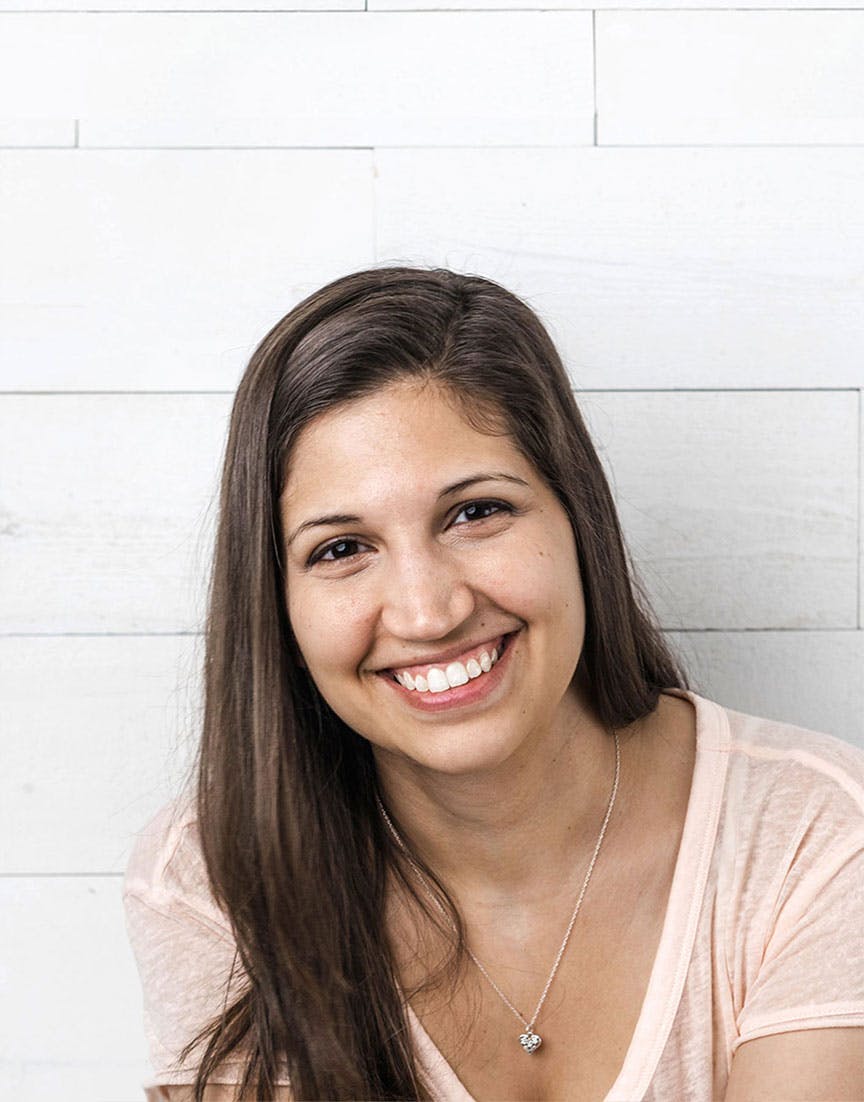

I help creatives build and improve their digital skills to open new opportunities.
If you’re familiar with Every Tuesday, then you know my love for lettering, design and illustration runs deep. In fact, in the last 7 years, I’ve taught over 200,000 students and my tutorials on YouTube have accumulated over 20 million views.
I love sharing what I’ve learned throughout my career and motivating others to create something new every week.
100% Self Paced
Enrollment includes pre-recorded videos with lifetime access to all of them
Take the course at your own pace whenever it works with your schedule. There’s no pressure to hit a deadline or to fit everything in within a set amount of time.
And with lifetime access, you can refer back to it + watch it as many times as you’d like, too.

Class Curriculum
Welcome
- What You'll Learn/Course Overview8:13
- My Tools + Accessories5:23
- Bonus Location/Install Instructions8:22
- How to Use the Brushes/Brushes Overview4:30
- 2 Procreate Gestures We'll Use3:47
Flat Style Overview
- What is the Flat Style: Examples4:08
- Flat style essentials7:44
- Simplification process9:29
- Choosing color8:57
Basic Florals + Foliage: Practice Exercises
- Style variations practice exercise: part 16:55
- Style variations practice exercise: part 25:50
- Foliage style variations practice exercise8:40
Project 1: Simple floral with foliage 3 ways
- Freehand composition with layer masking8:20
- Project 1: Style 14:24
- Project 1: Style 2, part 14:22
- Project 1: Style 2, part 22:33
- Project 1: Style 3, part 15:59
- Project 1: Style 3, part 24:23
Project 2: Simple floral arrangement 2 ways
- Create the composition10:47
- Project 2: Style 19:54
- Project 2: Style 29:09
Complex Florals: Practice Exercises
- Style variations practice exercise: part 18:27
- Style variations practice exercise: part 211:17
Project 3: Complex floral with foliage 2 ways
- Freehand composition with layer masking3:48
- Project 3: Style 18:33
- Project 3: Style 28:31
Building Custom Compositions
- Composition Components9:06
- How to Create Custom Compositions5:51
- How to Use the Composition Stamps6:51
Project 4: Complex Vertical Arrangement
- Create the Composition: part 110:36
- Create the Composition: part 29:52
- Fill with Color: Hero 19:27
- Fill with Color: Hero 26:58
- Fill with Color: Hero 35:33
- Fill with Color: Hero 45:07
- Fill with Color: Supporting Florals8:44
- Fill with Color: Foliage, part 17:41
- Fill with Color: Foliage, part 25:08
- Fill with Color: Foliage, part 35:29
Project 5: Complex Arrangement with Depth
- Create the Composition: part 19:13
- Create the Composition: part 26:56
- Fill with Color: Hero 1, part 19:07
- Fill with Color: Hero 1, part 24:10
- Fill with Color: Hero 212:30
- Fill with Color: Hero 39:56
- Fill with Color: Supporting Elements9:07
- Fill with Color: Foliage, part 17:03
- Fill with Color: Foliage, part 23:38
Project 6: Seamless Pattern with Transparent Background
- Create the First Bouquet: Structure8:47
- Create the First Bouquet: Color12:13
- Create the Second Bouquet: Structure5:28
- Create the Second Bouquet: Color7:38
- Create the Third Bouquet: Structure3:44
- Create the Third Bouquet: Color6:09
- Set up the Pattern Canvas2:47
- Insert First Bouquet4:32
- Insert Remaining Bouquets + Make Seamless7:06
- Add Final Details + Test the Pattern9:04
Bonus: Application Ideas
- Application 1: Text Ribbon3:50
- Application 2: Birthday Cake8:34
- Application 3: Floral Borders7:16
Thank you + next steps
- Thank You + Next Steps3:05
Class Bonuses
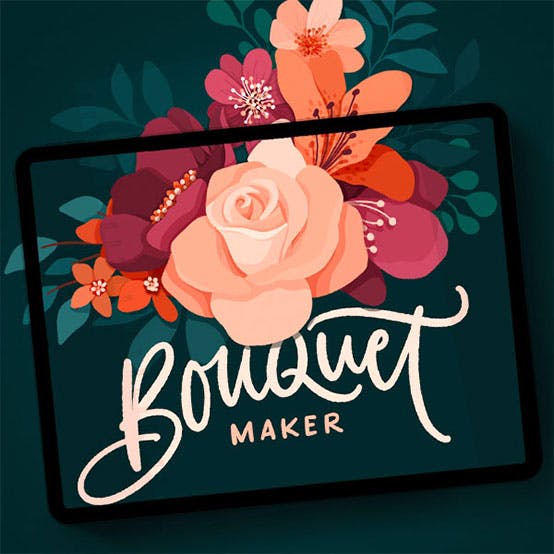
Bouquet Maker Brush Set
The full brush set (150+ brushes!) are included with enrollment so you can follow along exactly. Brushes are separated into 5 different categories so finding what you need is quick and efficient.

Extended License of the Bouquet Maker Brushes
An extended license of the brush set ($40 value) is included, so you can use the brushes to create artwork you plan to sell or use for business purposes without limit.

Bonus Applications Module
Extend the life of your art by exporting it with transparent backgrounds. Next, learn how to integrate that artwork into 3 different applications, expanding its versatility for your own potential buyers.

Facebook Group
Your enrollment includes membership into our private Facebook community. Share your progress, get feedback and find support whenever you need it.

Flat Style Cheat Sheets
Graphic cheat sheets included, so you can pull ideas for style and elements quickly without having to backtrack.
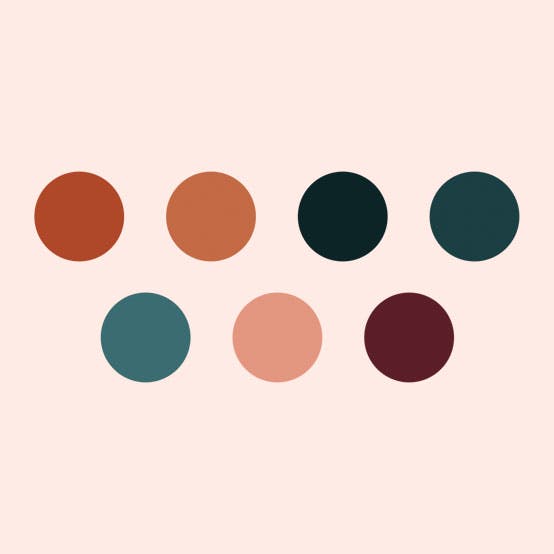
Color Palettes + Links
Every practice exercise and project’s color palette is included, as well as helpful links mentioned throughout the course in one convenient place.
Successfully completing this course requires:
Procreate App(v. 5.2.9 or newer)
This course was created using v.5.2.9 of the Procreate app, so you’ll need to be on that version or newer to follow along.
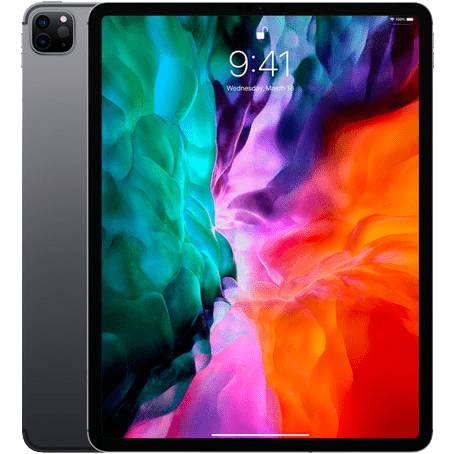
Apple iPad
We utilize pressure variation within some of our brushes, so you’ll need to have an iPad that supports pressure sensitivity. A list of iPads that offer this are available here.
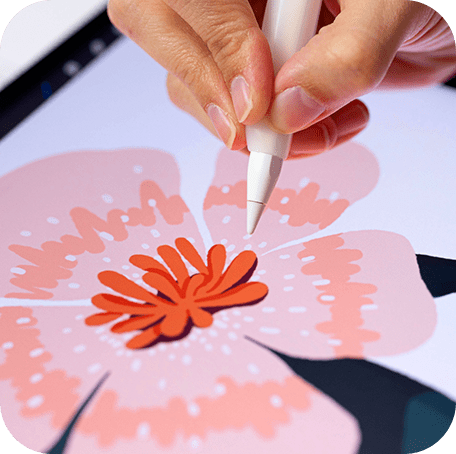
An iPad Stylus(pressure sensitive)
Since we’re utilizing pressure sensitivity settings, you’ll need a stylus that is compatible with your iPad. An Apple Pencil is recommended, but other 3rd party styluses may also work.
Familiarity with the Procreate interface
The course builds in complexity as it progresses, making it a great fit for both beginner level and experienced Procreate users. If you’re brand new to Procreate, I recommend taking my free Procreate for Beginners course first so you’ll be able to follow along more comfortably.

Frequently Asked Questions

Do you offer any refunds or guarantees?
Yep! If you finish the course and feel you haven’t learned anything new, email me within 14 days of purchase for a full refund.
How long can I access the course for?
Forever! As long as Every Tuesday exists, this course will be available to watch. Take it at whatever pace you’d like, watch whenever, wherever and as many times as you’d like.
Is this a live or pre-recorded course?
This course is entirely pre-recorded, so you can take it whenever it works best with your schedule.
Does this class come with subtitles/closed captions?
Yes! There are English subtitles available for all videos.
What will I need to take this class?
You’ll need the Procreate app (v.5.2.9 or newer), a pressure sensitive iPad (see this list: every-tuesday.com/ipads), a stylus compatible with that iPad (I recommend the Apple Pencil) and a familiarity with Procreate (my free Procreate for Beginners course is recommended as a prerequisite).
Do I need any special Procreate brushes to create these projects?
Yes, and they’re all included for free with your enrollment. Refer to the course video titled ‘bonuses + install instructions’ for their location and a full installation tutorial.
I’m still learning Procreate. Is this for me?
Yep! The course was designed with beginners in mind and it increases in complexity as the course progresses. You’ll want to be familiar with the interface before you begin, though, so my free Procreate for Beginners course is recommended as a prerequisite.
I have no experience drawing flowers. Can I still take this class?
Yes! If you can draw irregular, imperfect shapes, then you can create every project within the course. I show you everything you need to know and offer resources to guide you if you ever get stuck along the way.
If I recreate these projects following your instruction, can I sell that artwork afterward?
You may use any of the brushes, color palettes and techniques provided in the class to create your own unique artwork to sell. You may not sell recreated class projects, as they are my own original artwork + concepts.

Welcome to Flat Florals in Procreate, your complete guide to painting simplified, bold and beautiful florals.

Flat Florals in Procreate
Learn how to digitally paint flat style floral artwork in Procreate

Flat Florals in Procreate
Learn how to digitally paint flat style floral artwork in Procreate
Class includes:
- Instant access to all videos and bonuses
- Full Bouquet Maker brush set (150+ brushes)
- Bonus applications module (3 projects)
- Private Facebook community
- Extended License of the brush set ($40 value)
- Seamless patterns with transparent backgrounds process
- Rose simplification tutorial
- Composition design tutorials
- 14 day money back guarantee
- Flat style cheat sheets (pdf)
- All project + demo color palettes
- English subtitles on all videos
- Basic + complex style practice exercises (12 total)
